Make More Room Under Open Skies
Designing for Tight Footprints
Measure, Map, and Mock Up
Start by measuring property lines, door thresholds, slope, and existing obstructions like vents or downspouts. Mock up your modular deck using cardboard templates or painter’s tape to test walking paths and furniture spacing. This simple rehearsal prevents crowding, protects sunlight angles, and reveals where steps, benches, or planters should actually live, not just theoretically belong.
Modularity That Adapts
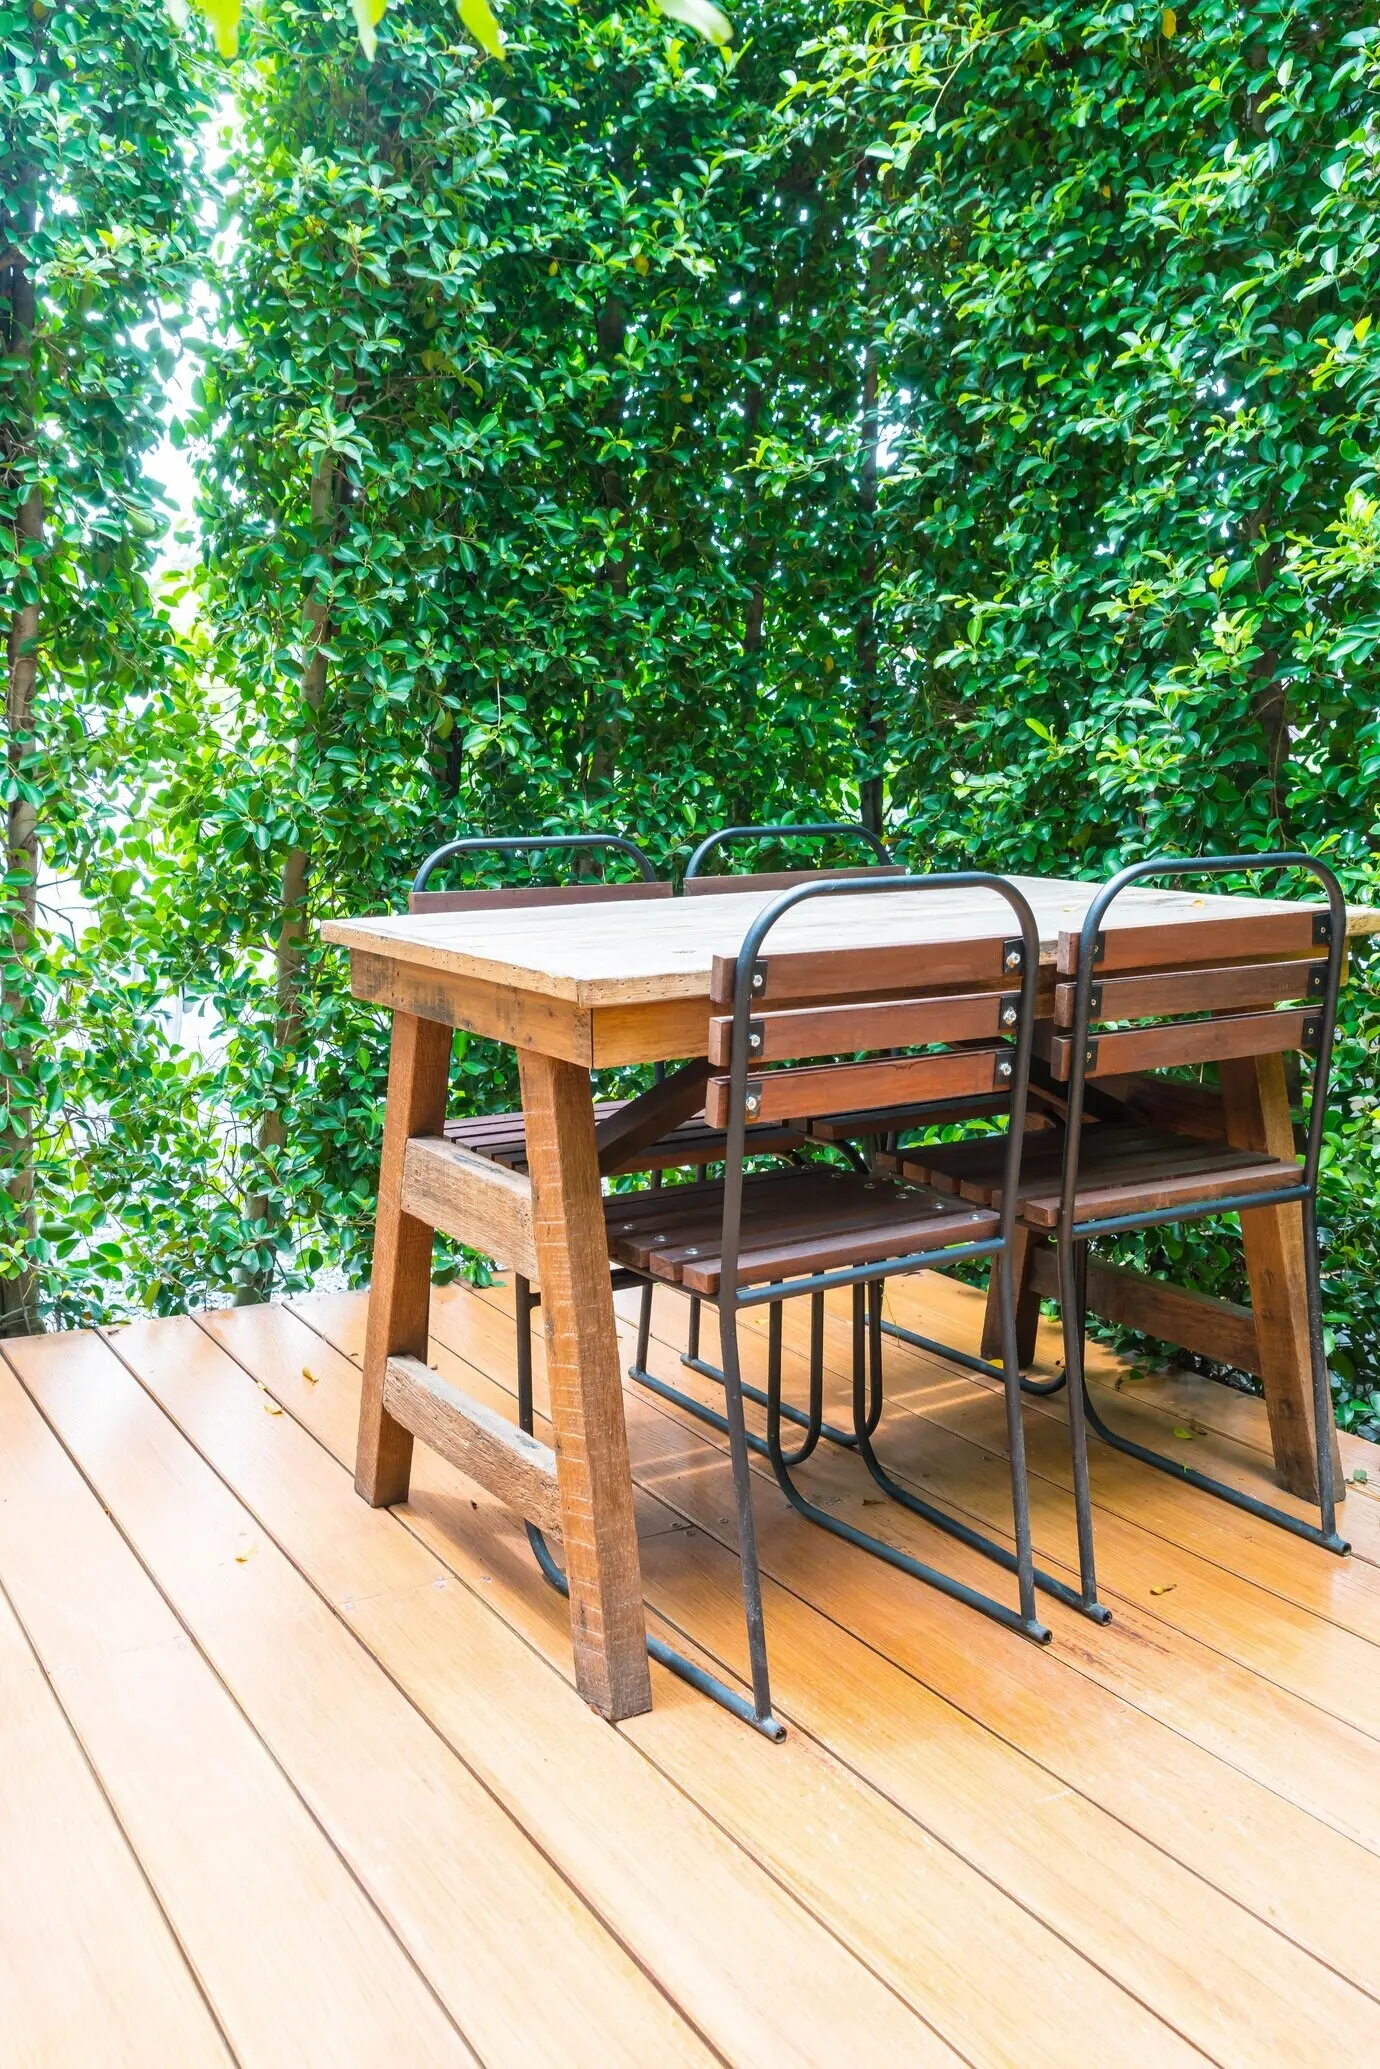
Choose panels that can move as your life shifts: a grill station now, a reading nook later, or extra seating when guests appear. Interchangeable modules, adjustable pedestals, and reversible surface layouts allow upgrades without full rebuilds. This adaptability saves money, reduces waste, and gives you confidence to refine your deck after living with it through different seasons.
Flow, Light, and Lines
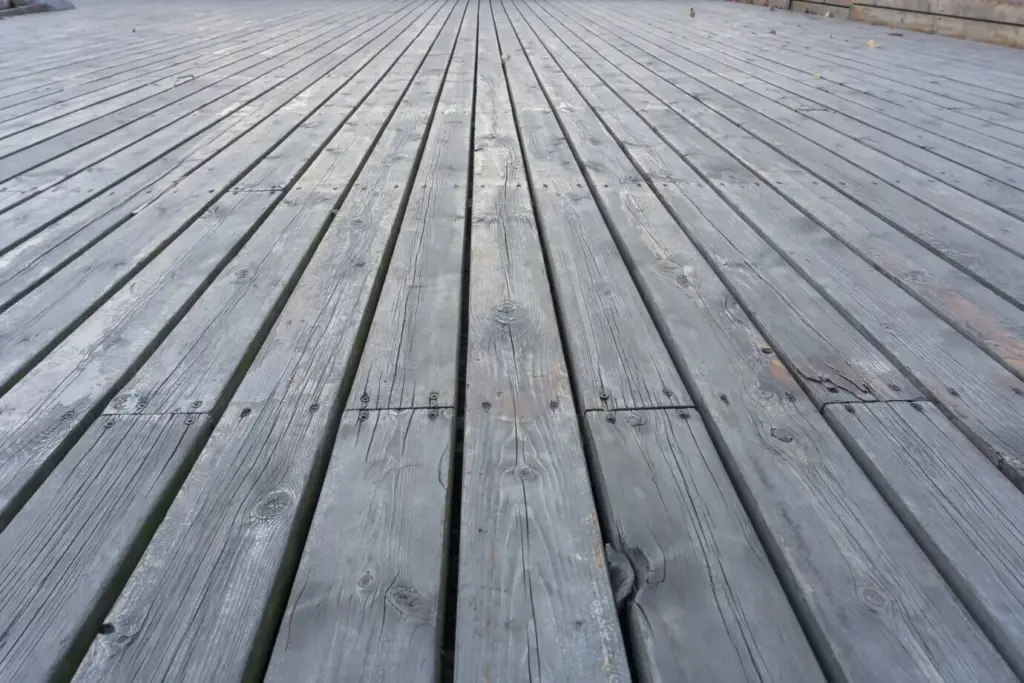
Use long, continuous deck boards or slatted patterns to visually stretch space. Keep thresholds low to remove trip points and keep sightlines clean. Incorporate open rail designs that feel airy, and position planters strategically to frame views rather than block them. Good lines direct the eye outward, making a compact yard feel inviting, intentional, and surprisingly expansive.
Strong, Light, and Built to Last
Frames That Fight Rot
Decking That Stays Cool
Hardware That Disappears

Benches With Secrets

Rails That Work
Weekend Build, Pro Results
01
Permits, Codes, and Neighbors
Even when structures are low and freestanding, check municipal rules on setbacks, height limits, and rail requirements. Share drawings with neighbors early to avoid surprises. Calling utility-locate services prevents mishaps. Photos of before-and-after heights help inspectors verify compliance quickly. Good paperwork and courteous communication save time, reduce stress, and protect your investment in a compact space with shared boundaries.
02
Leveling Without Pouring
Adjustable pedestals and composite shims let you correct slope without heavy footings, ideal for tight yards with tricky access. Add geotextile fabric and compacted gravel to support loads while draining water. A laser level or taut string line keeps modules flush, preventing wobbles and squeaks. The approach is cleaner, faster, and reversible if future landscaping plans evolve unexpectedly.
03
Fast Assembly Methods
Pre-drill repetitive connections, label modules, and organize hardware by steps. Use clamp blocks to hold edges flush while fastening hidden clips. Keep a square handy to maintain crisp corners in tight footprints. If you work solo, temporary spacers guarantee even gaps. Document each layer with photos so future upgrades or repairs are straightforward and confidence-building, not confusing scavenger hunts.
Maintenance That Fits Your Schedule

A Seasonal Checklist That Saves Money
Quick Swaps, Big Refresh
Weathering the Extremes
Real-World Wins and Smart Budgets